
Last updated November 15, 2026
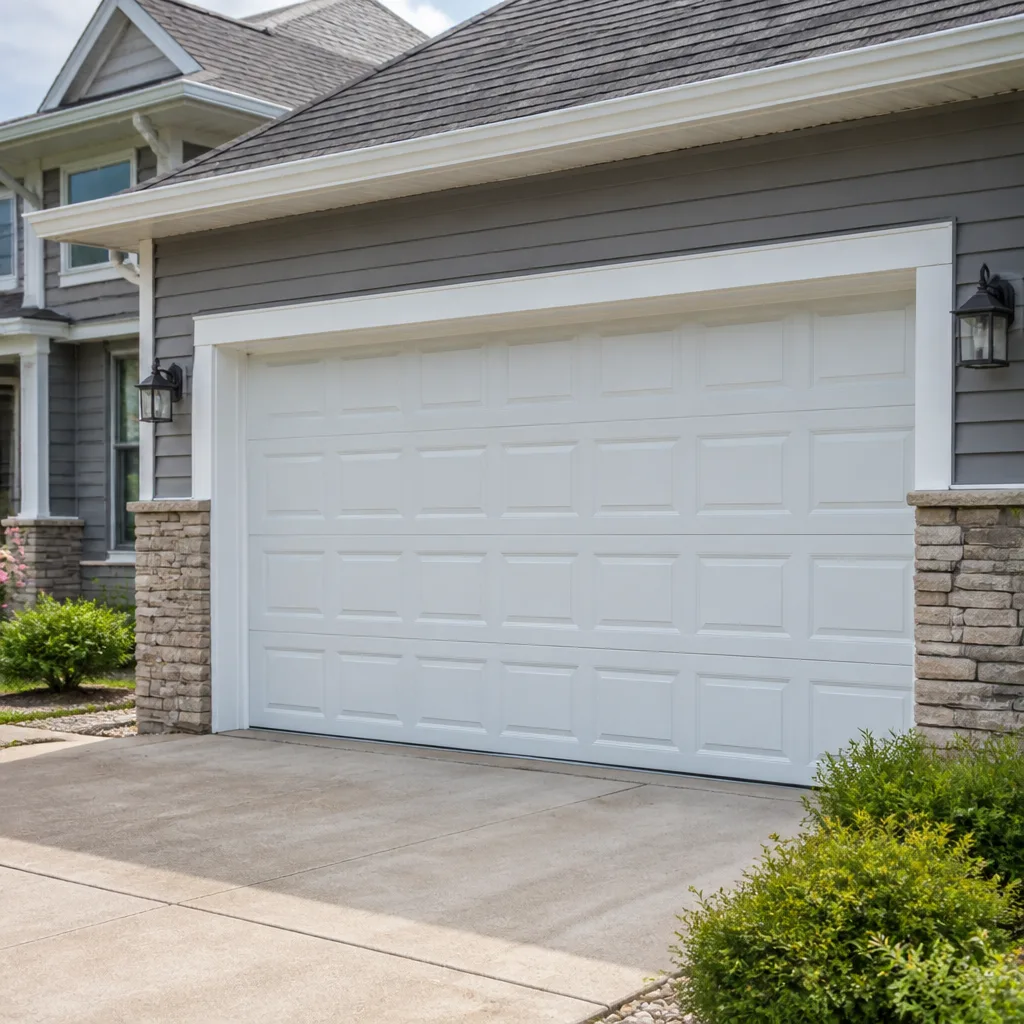 Raised-panel steel
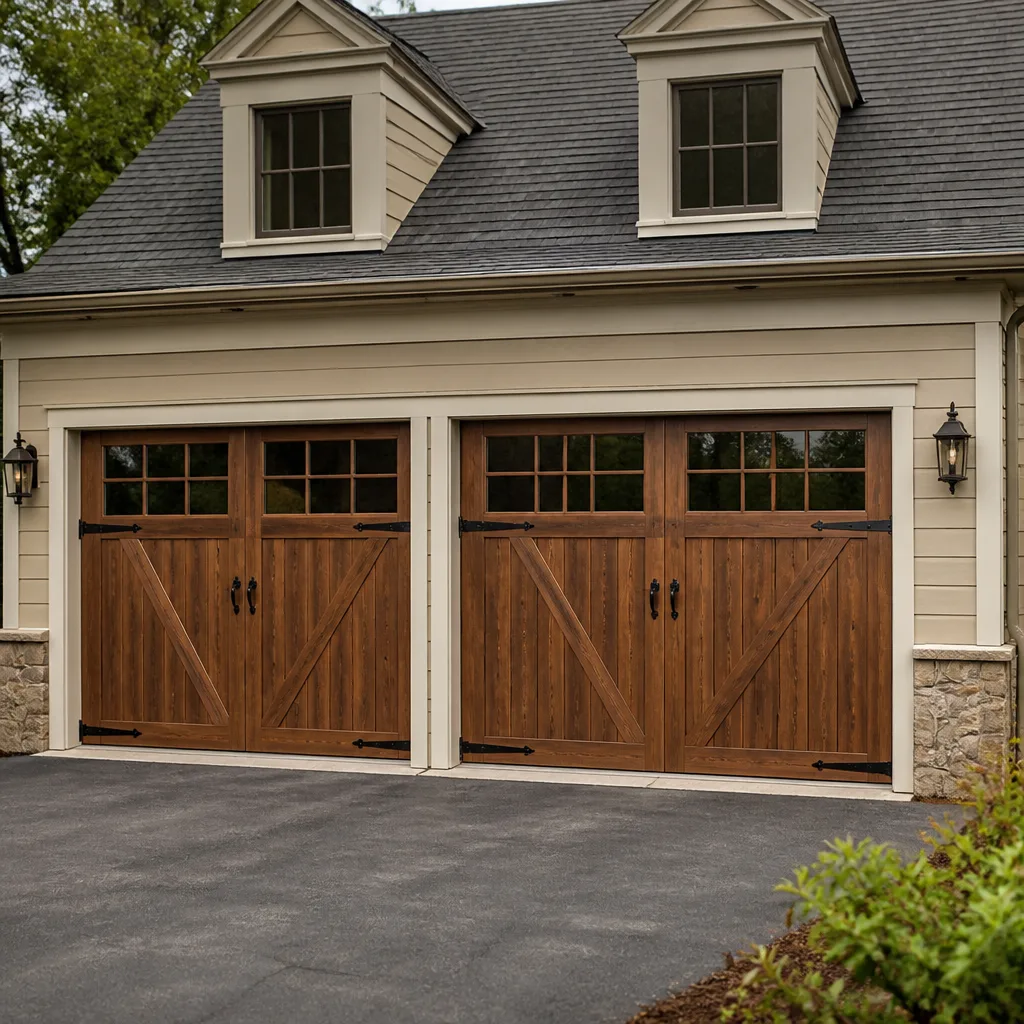 Carriage house
 Modern flush
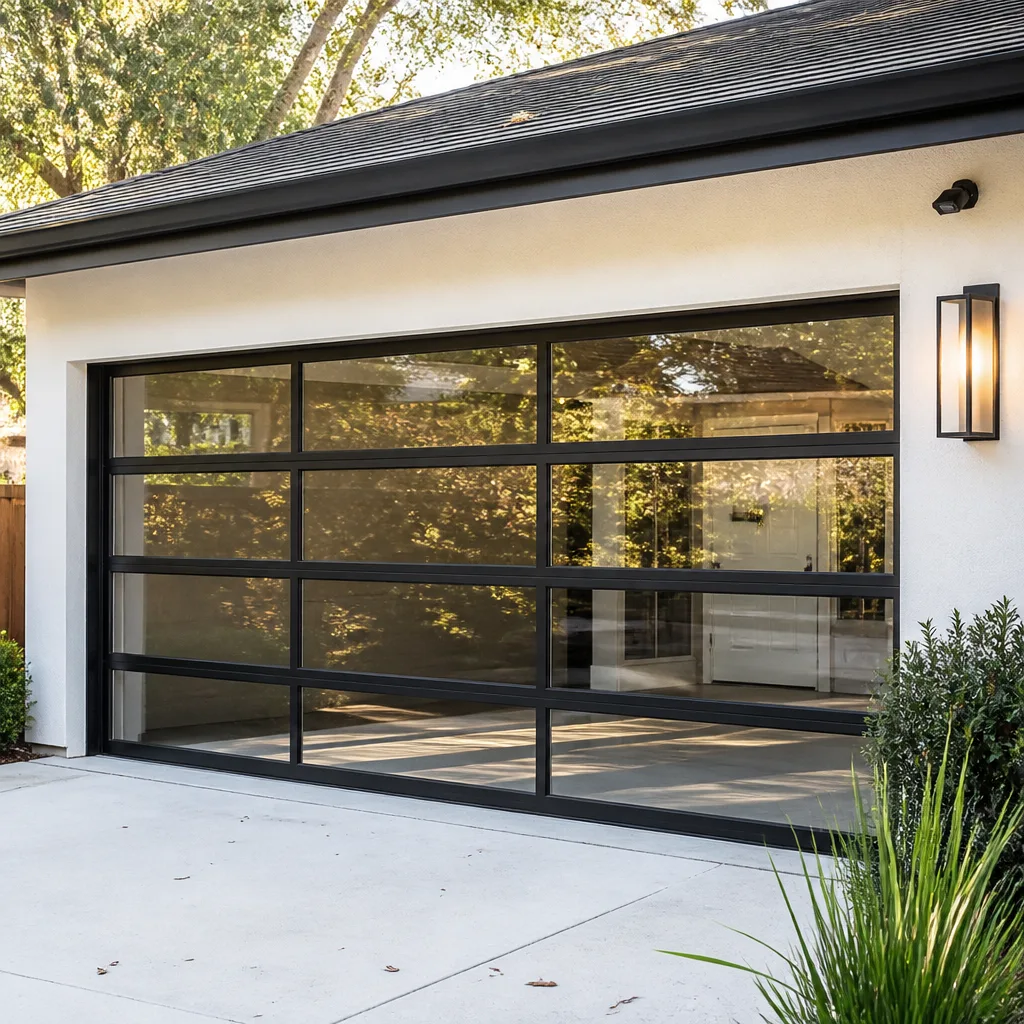 Full-view glass
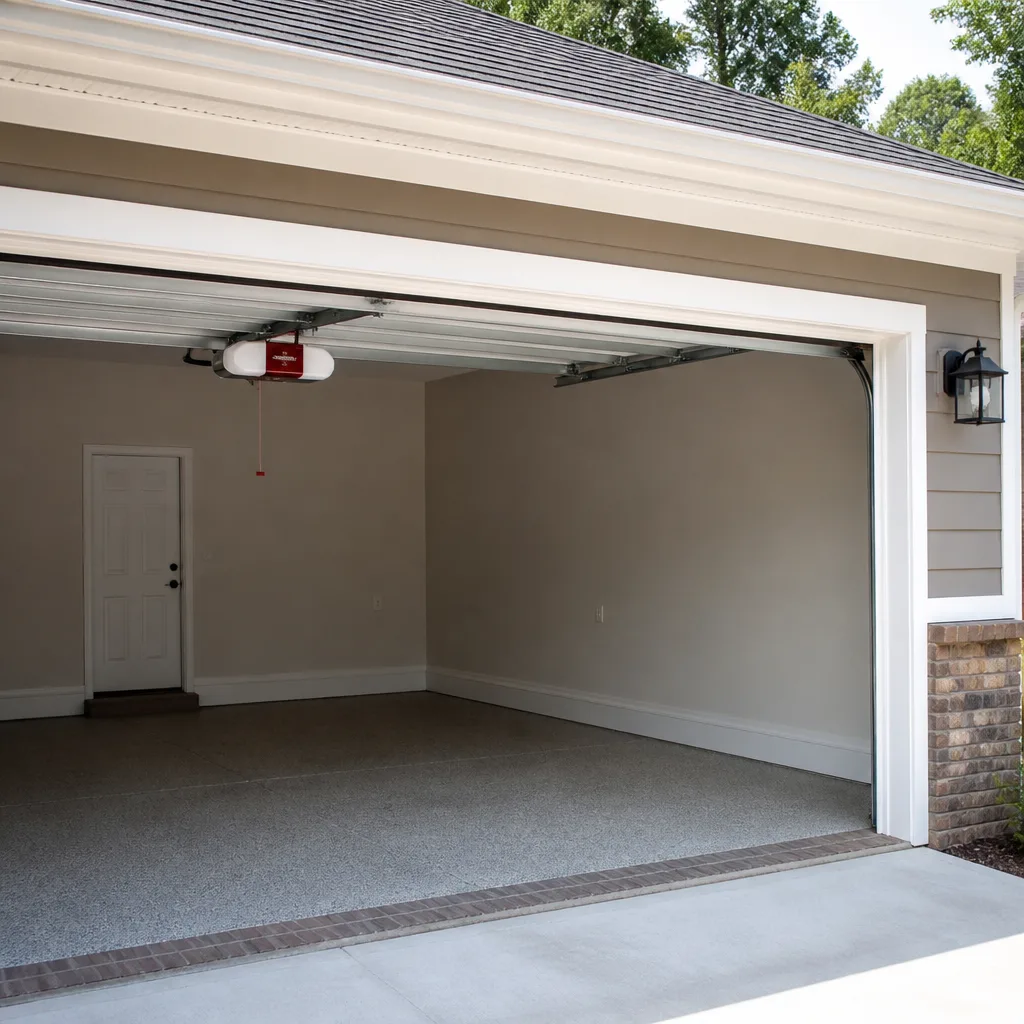 LiftMaster openers
 Chamberlain openers
Full 25-point door and opener safety check with every visit - springs, cables, rollers, tracks, and your LiftMaster or Chamberlain opener included
You get a price before we start. It does not change when the pro arrives.
Get your free estimateDIY vs Professional Garage Door: The Fishers Homeowner’s Decision Guide
Most advice about garage door DIY gets the argument wrong. It either tells you to touch nothing because springs are dangerous, or it hands you a wrench and a video link and wishes you luck. Neither is useful. Garage door springs do operate under enough tension to cause serious injury, and that’s not a reason to avoid all DIY work. It’s a reason to know exactly where the safe line sits. This guide draws that line task by task for Fishers homeowners: what you can reasonably do yourself, what voids a warranty or risks injury, what Indiana’s residential codes mean for a door you install, and what each option really costs. By the end you’ll know which jobs belong on your Saturday list and which belong on a technician’s schedule.
Quick Answer
For Fishers homeowners, about a third of common garage door tasks are genuinely DIY-appropriate: lubricating rollers and hinges, tightening loose track bolts, cleaning photo-eye sensors, replacing remotes, and swapping batteries. Everything involving torsion springs, cables, bottom brackets, or the structural attachment of new doors belongs with a professional – the injury risk is real and installation typically triggers permit and inspection requirements. Cosmetic and minor electrical tasks sit in a gray zone depending on your comfort and the brand of your system.
Styles & brands we work with
- Raised-panel steel
- Carriage house
- Modern flush
- Full-view glass
- LiftMaster openers
- Chamberlain openers
Table of Contents
- The Task-by-Task Breakdown: What You Can and Can’t Do
- Why Springs and Cables Aren’t Like Other Repairs
- How Indiana Residential Codes Affect DIY Door Installation
- The Real Cost Comparison for the Five Most Common Repairs
- When a Successful DIY Repair Creates a Downstream Problem
- What Voids a Manufacturer Warranty – and What Doesn’t
- The Tools and Knowledge You Actually Need
- When to Call a Professional
The Task-by-Task Breakdown: What You Can and Can’t Do
The clearest way to think about garage door work is a three-tier system based on mechanical risk, not on how hard the job looks. Plenty of tasks look simple on video and carry a real injury rate. Others look intimidating and are perfectly safe.
Tier 1: Safe for most homeowners. These involve no stored energy and no structural load.
- Lubricating hinges, rollers, and the torsion bar with a garage-door-specific spray (not WD-40)
- Tightening track bolts that have worked loose over time
- Cleaning the photo-eye lenses and checking alignment
- Replacing remote batteries and re-pairing remotes to the opener
- Wiping down panels and touching up minor cosmetic scratches
- Clearing obstructions from the door’s path and photo-eye line
Tier 2: Gray zone. These are within reach for a handy homeowner but carry warranty and safety caveats.
- Replacing a single roller or hinge (with the door fully closed and springs relaxed)
- Adjusting opener travel limits and force settings on a LiftMaster or Chamberlain unit
- Replacing weather stripping along the bottom seal
- Straightening a slightly bent track with the door down
Tier 3: Professional only. These are the jobs where injuries happen and where warranties typically expect a qualified technician.
- Replacing torsion springs or extension springs
- Working with cables, drums, and bottom brackets
- Replacing the bottom section of a door (the bracket is under cable tension)
- Replacing or re-tensioning the torsion bar
- Installing a new door or opener from scratch
In Fishers, where most homes have attached garages with standard 16-foot doors, a Wayne Dalton or Amarr torsion system is the most common configuration. That means most homeowners will one day face a Tier 3 spring job. Knowing that going in is half the battle.
Why Springs and Cables Aren’t Like Other Repairs
A garage door spring holds the entire weight of the door in tension. A standard double door weighs well over a hundred pounds, and the torsion spring that counterbalances it is wound to hundreds of pounds of force. When a spring snaps, it lets go instantly and without warning. That’s why technicians use winding bars designed for the job and never their hands – and why the injury rate on spring work is concentrated among people attempting it without those tools.
Cables are similar. A cable under tension can whip if released incorrectly. Bottom brackets connect the cable to the bottom panel and are directly part of that tension chain. It’s not that these parts are mysterious; it’s that they store energy that doesn’t care whether you’ve watched a tutorial.
Here’s what that means in practice for a Fishers homeowner:
- If you hear a loud bang from the garage and the door won’t lift, stop pulling the opener. The spring has likely failed and the opener is now deadlifting the door. Call a specialist before running the motor again.
- Never reach for a winding bar substitute – screwdrivers, pliers, and vice grips slip and are the source of a large share of spring injuries.
- If a cable has come off its drum or is visibly frayed, do not open or close the door. Cable failure can drop a door fast.
- If you’re unsure whether a spring is broken, look for a visible gap in the coil. A torsion spring that’s failed has an obvious separation.
We’ve seen plenty of Fishers homes where a homeowner replaced a spring correctly and plenty where a shoulder or wrist paid the price. The math on this one isn’t close. Spring and cable work belongs on a professional’s schedule – our garage door repair team handles this every day.
How Indiana Residential Codes Affect DIY Door Installation
Indiana follows a statewide residential code, and most Fishers jurisdictions require a permit for a new garage door installation or replacement – especially when the job changes the door’s structural attachment to the framing. It’s always worth a quick call to the Fishers building department before you start, because the answer depends on your exact scope. Replacing a like-for-like door panel on existing tracks is often a different situation than installing a new door on new hardware.
The requirements that catch DIY installers out:
- Structural attachment: The door’s mounting plate or header bracket must connect to solid framing. A door hanging on drywall anchors or a compromised header will sag, jam, and eventually tear free. An inspector will check this.
- Inspections at defined points: If a permit is pulled, expect at least one inspection of the installed door and its opener before final sign-off. An installer needs to know what the inspector is looking for.
- Opener safety systems: Modern openers include a photo-eye system and a pressure-reversal setting. A permit inspection will test both. An opener installed without a properly aligned photo eye will fail.
- Electrical work: Adding a new outlet for an opener or running a low-voltage wire for a wall console may trigger its own permit. A new opener circuit should always be wired to code.
None of this is a reason to avoid a new door. It’s the reason a new door is usually the job where professional installation pays for itself in avoided rework. A Clopay or Wayne Dalton door has specific installation instructions and weight distribution, and a specialist knows what an inspector will want to see. If you’d like a straight read on your specific situation, our Hillcrest Garage Door Service team can walk you through it.
The Real Cost Comparison for the Five Most Common Repairs
DIY rarely wins on the five most common jobs once you count parts, tools you don’t own, and the value of your afternoon. Here’s how the numbers look for a typical Fishers homeowner across the work that actually comes up most often.
| Repair | DIY parts + tools | Typical pro estimate | What most homeowners choose |
|---|---|---|---|
| Lubricate and tune door | $10-15 (lubricant) | Included in a tune-up visit | DIY |
| Replace photo-eye sensors | $25-40 (sensors) | Small job, quote on visit | Mixed |
| Replace torsion spring (one) | $40-70 spring + $25-40 winding bars | Estimate based on spring type and door | Professional |
| Replace opener | $200-400 opener + wiring time | Estimate covers unit + install | Professional |
| Replace a section of the door | $150-400 section + risk of bracket injury | Estimate depends on panel and brand | Professional |
Those DIY numbers don’t include what a job actually costs if it goes wrong. A spring job that ends at urgent care, a bent track from an over-tightened bolt, or a re-installed opener that fails inspection all erase the savings fast. Every pro estimate we or any specialist provides for Fishers work is done in writing, and the price is quoted and agreed before any work starts – so there’s no invoice surprise at the end. That’s true whether the job is a LiftMaster opener repair or a full Clopay section replacement.
Time is the other cost. A spring replacement takes a technician 30-45 minutes. The same job as a first-timer, safely and with the right tools, is an afternoon. If you’re weighing it, get a written estimate first, then decide. Our Fishers pages give you the local service details.
When a Successful DIY Repair Creates a Downstream Problem
The tricky part of DIY isn’t the repair that fails. It’s the repair that works well enough that you stop worrying about it while it quietly causes a worse problem. We’ve seen several of these patterns in Fishers homes:
- A spring replaced with the wrong wind. Torsion springs are handed. Install a left-wind spring on the right side and the door will rise, but the spring will fatigue prematurely and often fail within months.
- An over-tightened track bolt. Tight enough to feel solid also bends the track slightly, and a slightly bent track wears rollers fast. The rollers are the next bill.
- A force setting raised to hide a problem. When an opener struggles, cranking up force gets the door moving. It also pushes the motor past its design limits and puts pressure on a door that may have a failing spring. The opener dies early.
- A new opener on existing hardware. A Genie or Craftsman opener installed on a door with tired springs will work for a while, then burn out. The door was the problem, not the opener.
- A door section replaced out of alignment. A section that’s visually in place can sit a quarter-inch off, and the door will wear unevenly across hundreds of cycles.
Here’s how to know whether what you fixed is actually fixed. Run the door through at least five full open-and-close cycles after any repair. Listen for new sounds, watch for hesitation at the point you worked on, and check the balance by disconnecting the opener and lifting the door by hand halfway – it should stay there. If it drifts or struggles, the repair isn’t done.
What Voids a Manufacturer Warranty – and What Doesn’t
Warranties on doors and openers have a lot of fine print, and the fine print usually comes down to whether the part failed because of the equipment or because of how the equipment was handled. The distinction matters for a homeowner weighing DIY on a system that’s still under warranty.
What typically does void warranty coverage:
- Torsion spring or cable work done without a qualified installer – most manufacturer warranties on springs and cables require installation by a qualified professional
- Opener damage from a mis-adjusted force setting or from running on a failing door
- Installation errors that show up in the door’s structural attachment or hardware
- Use of generic substitute parts where the manufacturer specifies its own
What typically does not void warranty:
- Lubrication and cleaning
- Remote batteries and programming
- Photo-eye alignment and cleaning
- Adjusting an opener’s travel limits within the manufacturer’s instructions
If you own a Raynor or Amarr door that’s still under warranty, before you consider any DIY on a spring or section, check the warranty document. Most give a clear answer. If it isn’t clear, a specialist who works on your brand – and our team works on Raynor, Amarr, Wayne Dalton, Clopay, LiftMaster, Chamberlain, Genie, and Craftsman – can tell you which jobs are safe to leave to a homeowner and which the manufacturer expects to see on a work order.
The Tools and Knowledge You Actually Need
If you decide to do Tier 1 work yourself, the tool list is short and none of it is expensive. What you need:
- A garage-door-specific lubricant (silicone or lithium, never standard WD-40 on moving parts)
- A socket set that matches your hinge and track bolts
- A soft cloth and mild cleaner for photo-eye lenses
- A stepladder rated for your weight
- For opener adjustments: the manual for your specific model (search the model number on the opener’s label)
What you don’t need, and shouldn’t buy: winding bars, spring clamps, or cable pullers. Those are tools for a trade you’re not in. If you’ve already bought them, put them away – the risk they invite isn’t worth the space they take up.
Knowledge matters more than tools. Before any Tier 2 job, know:
- What safety system your opener uses (photo eyes vs. edge sensors vs. both)
- Where the manual override is (the pull cord and the red handle)
- How the door balances today – test it with the opener disconnected, halfway up
- The model number of your door and opener, so a specialist can identify parts quickly if you get stuck
When you have that information, the boundary between “I can do this” and “I should call” gets much clearer.
When to Call a Professional
Call a professional when the work crosses into Tier 3, when it affects warranty coverage, or when the symptom points to a deeper cause. Specifics: the door won’t lift or only rises a few inches, a spring has visibly broken, a cable has come loose or frayed, the door has dropped or is off-track, the opener hums but the door doesn’t move, or you’re installing a new door or opener. Also call if a repair you made isn’t holding, or if a balance test shows the door drifts when you let go halfway up.
Symptoms that look small but often signal bigger problems: the door reverses mid-travel, the opener light flashes in a non-standard pattern, the door gets much louder over a few weeks, or the door sits unevenly when closed. Each of these usually points to something a visual inspection won’t catch.
Hillcrest Garage Door Service offers free estimates in Fishers – call (866) 810-7496. We answer 24/7. Fast dispatch from 7am to 7pm, Sunday through Friday. Our technicians have up to 8 years of experience, and we work on both the door (panels, springs, tracks, hardware) and the opener (motors, sensors, remotes, smart controls) as one system. Our garage door opener repair team can diagnose an opener that’s fighting a door it can’t win, and our installation specialist can scope out a new door – brands and all – in a single visit.
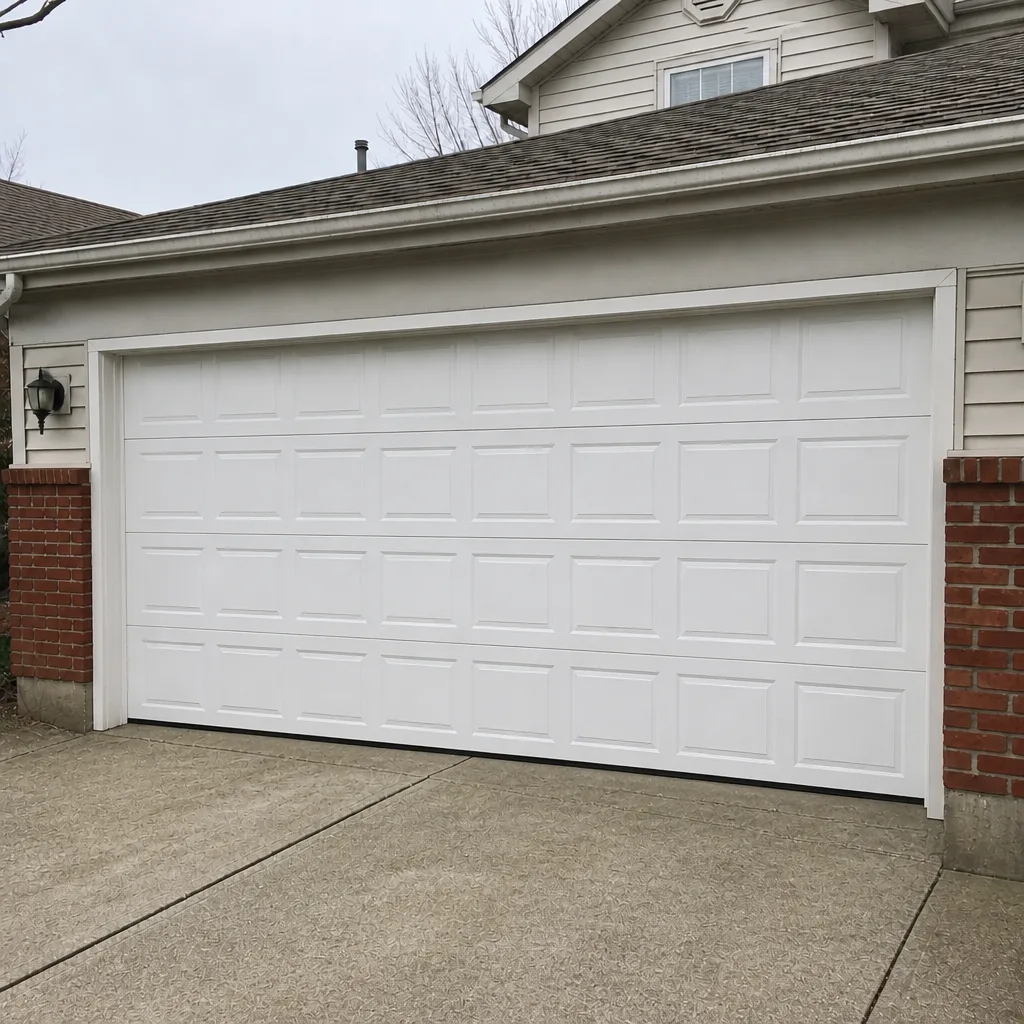
See the difference
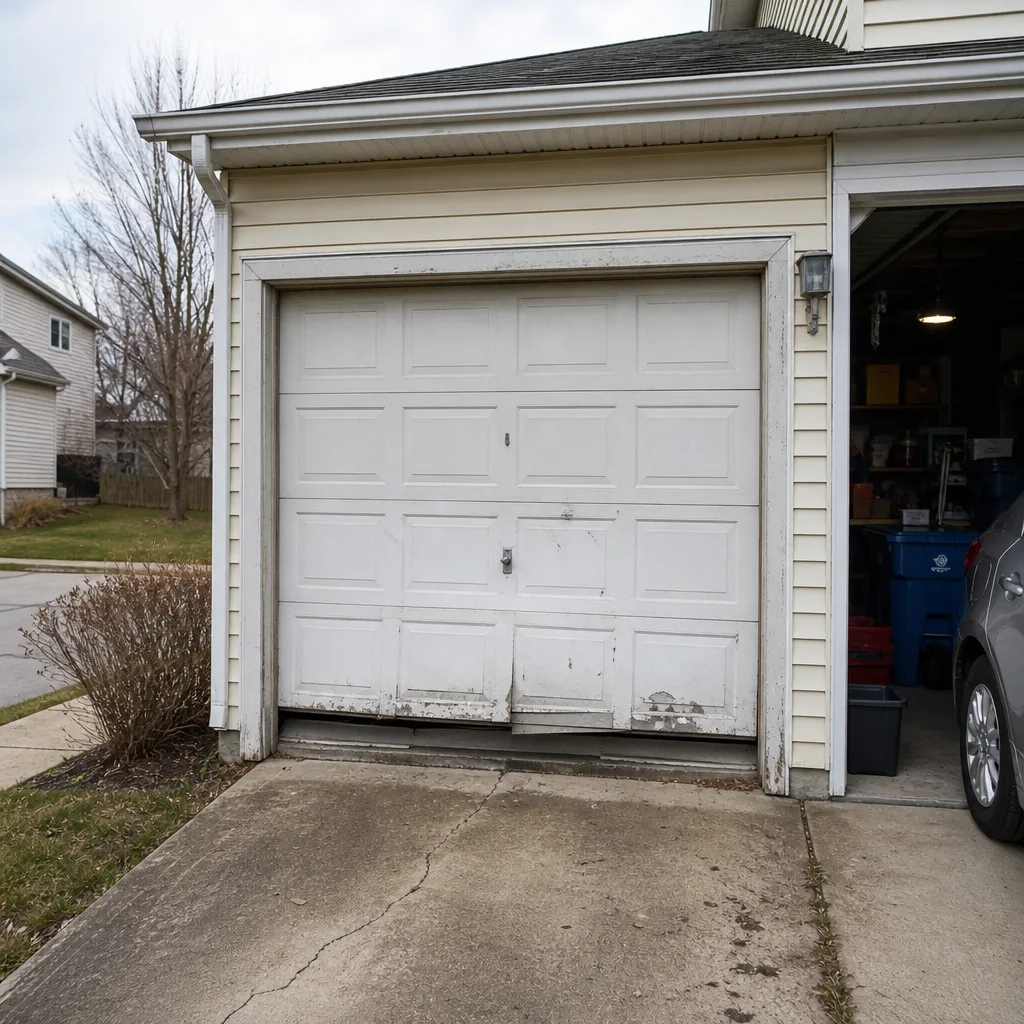 Before
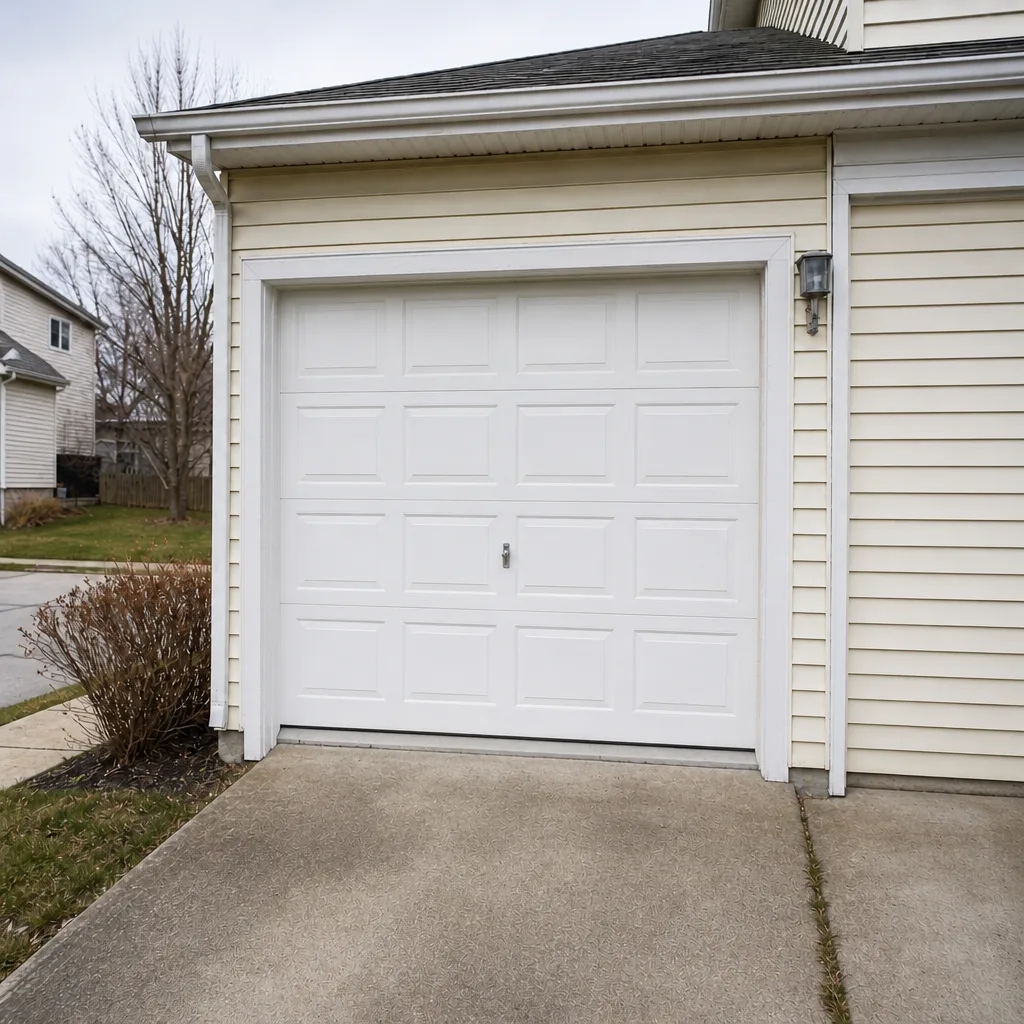 After
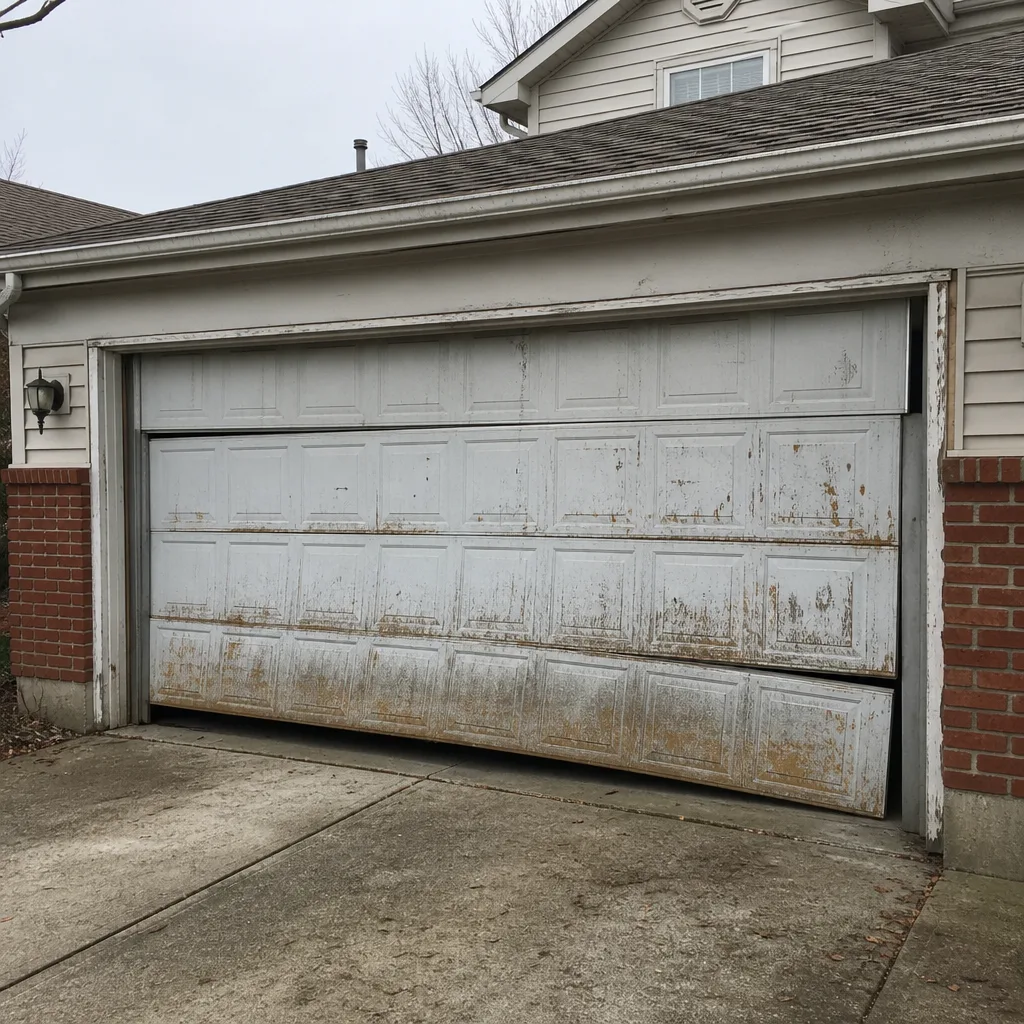 Before
 After
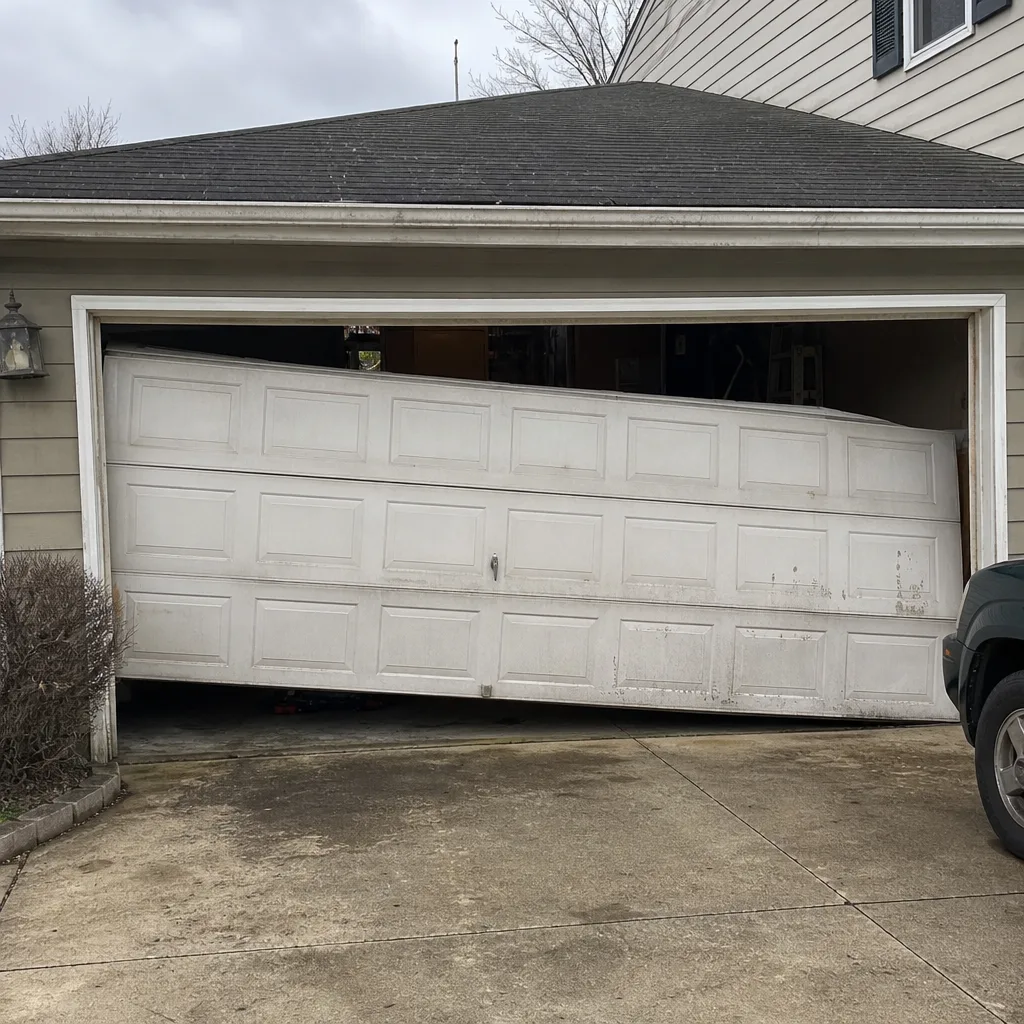 Before
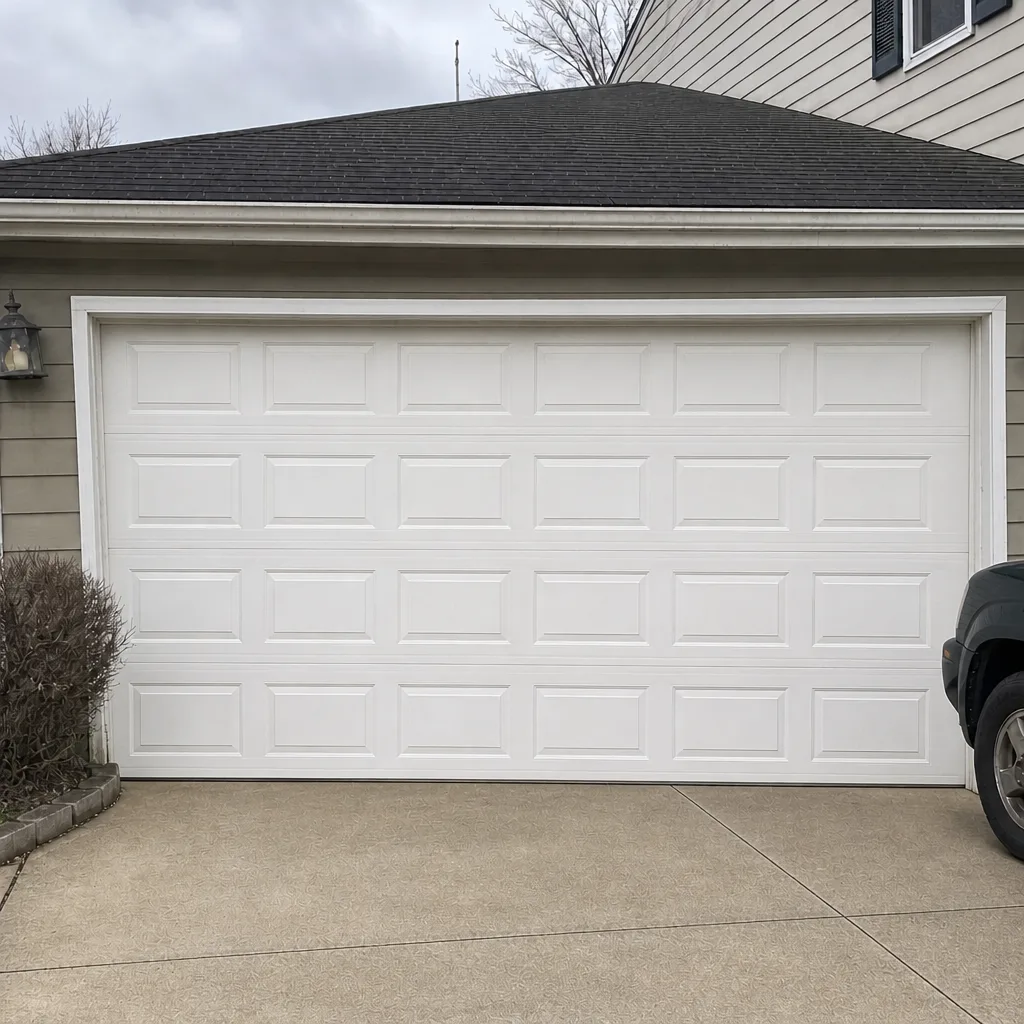 After
Common Mistakes to Avoid
- Using standard WD-40 on hinges and rollers. It’s a solvent and a light cleaner, not a lubricant. It attracts dust and accelerates wear. Use a garage-door-specific spray instead.
- Replacing a broken spring with the wrong wind direction. As covered above, a left-wind spring on the right side will work briefly and then fail early. Springs are handed, and the wrong one doesn’t announce itself.
- Raising the opener’s force setting to hide a symptom. A door that suddenly needs more force has a problem upstream. Raising force to get it moving is like turning up the radio to hide a noise under the hood.
- Installing a new opener on a door with failing springs. The new motor will work hard enough to burn out within months. Fix the door first.
- Touching the bottom bracket. Most people don’t realize the bottom bracket connects to the cable and sits directly in the tension chain. It’s the single most dangerous part of the door to handle.
- Skipping the balance test after any repair. Disconnect the opener, lift the door halfway, and let go. If it drifts, your repair changed the door’s balance and something else needs attention. This one step catches most mistakes early.
- Assuming a permit isn’t needed on a door installation. Fishers requirements depend on the scope, and it’s a two-minute call to the building department to confirm. Skipping it can turn a straightforward install into a re-inspection.
Frequently Asked Questions
You technically can, but you shouldn’t, and we don’t recommend it. Torsion springs hold hundreds of pounds of tension, and the injury rate on DIY spring work is concentrated among people without the correct winding bars and training. Springs also typically fall under a manufacturer’s requirement for qualified installation, so a DIY spring can void the warranty on the door.
Often yes, depending on the scope and whether the door’s structural attachment is changing. Fishers requirements are specific to the job, so the answer is a quick call to the Fishers building department. A specialist installer knows what an inspector will check – opener safety systems, photo eyes, and header attachment – and plans the installation around that.
Spring replacement, by a wide margin. The most common mistakes are using the wrong wind direction, using a screwdriver as a winding bar, and not re-checking the door’s balance after installation. Any of those can cause an early failure or worse. A broken spring is one job that clearly belongs with a professional.
Disconnect the opener using the red manual-release handle and lift the door by hand. A door that lifts easily and stays halfway up is fine, and the opener is the culprit. A door that’s heavy, jerky, or won’t stay put has a door problem – usually a tired spring or track – and a new opener won’t fix it. If the door hasn’t been tested in a while, call (866) 810-7496 for a free estimate. We answer 24/7. Fast dispatch from 7am to 7pm, Sunday through Friday.
Routine tasks like cleaning photo eyes, replacing remote batteries, and following the manual’s travel-limit adjustment procedure don’t void the warranty. Damage from a mis-set force or from running the opener on a failing door usually isn’t covered. Check your opener’s manual for the warranty section, or ask a specialist who works on your brand before you touch anything electrical.
Check three things: whether a spring has visibly snapped, whether the door balances when lifted by hand, and whether the opener’s photo eyes are aligned. Knowing those three moves the conversation forward fast. When you call, have the door and opener model numbers ready. Call (866) 810-7496 for a free estimate. The price is quoted in writing and agreed before any work starts, so there’s no surprise on the invoice.
For Tier 1 tasks like lubrication and photo-eye cleaning, yes – it’s essentially free. For anything involving springs, cables, brackets, or installation of a new door or opener, no. Parts and tools alone often approach a pro estimate, and the risk of injury or premature failure erases whatever’s left. Get a written estimate first, then compare.
The Bottom Line
The DIY vs professional decision on a garage door isn’t about how handy you are. It’s about which tasks carry mechanical and legal risk and which don’t. Lubrication, photo-eye cleaning, remote batteries, and travel-limit adjustments are homeowner territory. Springs, cables, bottom brackets, and full installation belong with a specialist – the injury risk is real, the warranty implications are real, and Fishers permitting makes installation a professional job in most cases. Everything in between is a judgment call you can now make with facts instead of fear or YouTube optimism.
If a repair in your Fishers home feels like it’s on the wrong side of the line, don’t push it. Call (866) 810-7496 for a free estimate. We answer 24/7. Fast dispatch from 7am to 7pm, Sunday through Friday. Our technicians have up to 8 years of experience across the brands most Fishers homes actually have – LiftMaster, Chamberlain, Genie, Craftsman, Clopay, Amarr, Wayne Dalton, and Raynor – and we work on the whole system, so you’re not bounced between a door person and an opener person. Get it working right the first time.
Written by the team at Hillcrest Garage Door Service.